वीजजोडणी आणि बॅटरी नसताना, सोलर पॅनलच्या सहाय्याने दिवसाच्या वेळी वीजेची उपकरणे चालवता येऊ शकतील अश्या इंव्हर्टर यंत्राची माहीती या लेखात दिली आहे.
कुठे आणि कधीपासून बसवले आहे?
- ७-जून -२०२६ : पालघर, जाधवपाडा पालघर अंगणवाडी (उत्कर्ष प्रतिष्ठान प्रायोजित)
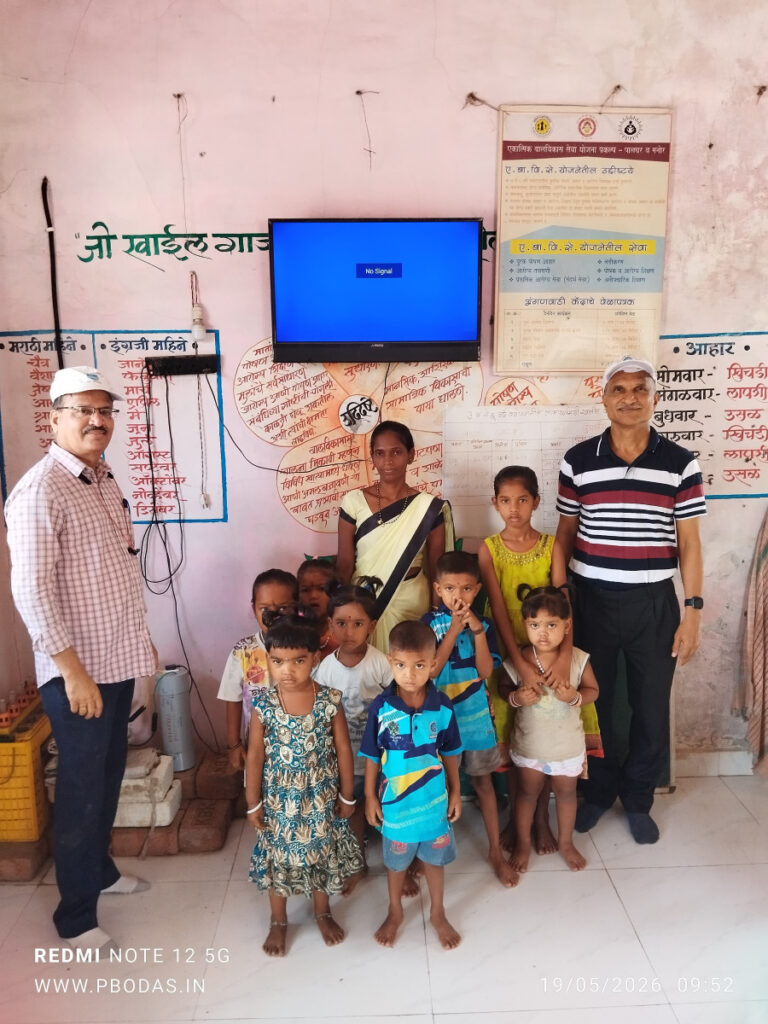
- १९-मे-२०२६ : पालघर, तांडेलपाडा मनोर अंगणवाडी (उत्कर्ष प्रतिष्ठान प्रायोजित)
- १२-मे-२०२६ : पालघर, कोसबाड काचरपाडा अंगणवाडी (उत्कर्ष प्रतिष्ठान प्रायोजित)
- १२-मे-२०२६ : पालघर, चौधरीपाडा अंगणवाडी (उत्कर्ष प्रतिष्ठान प्रायोजित)
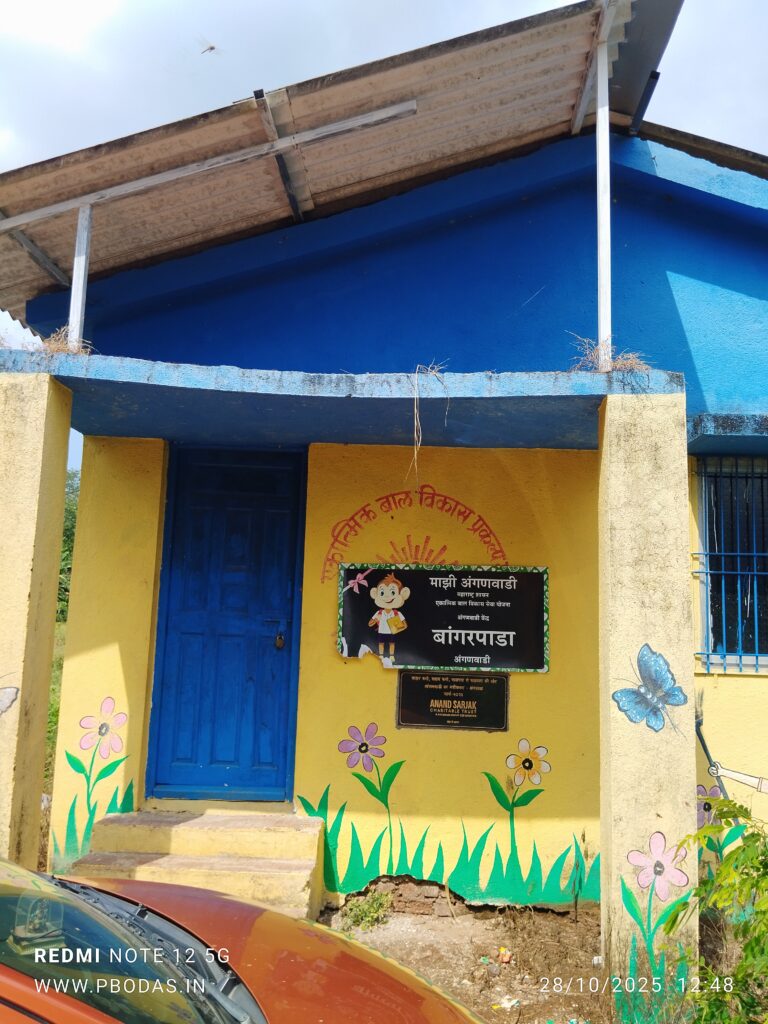
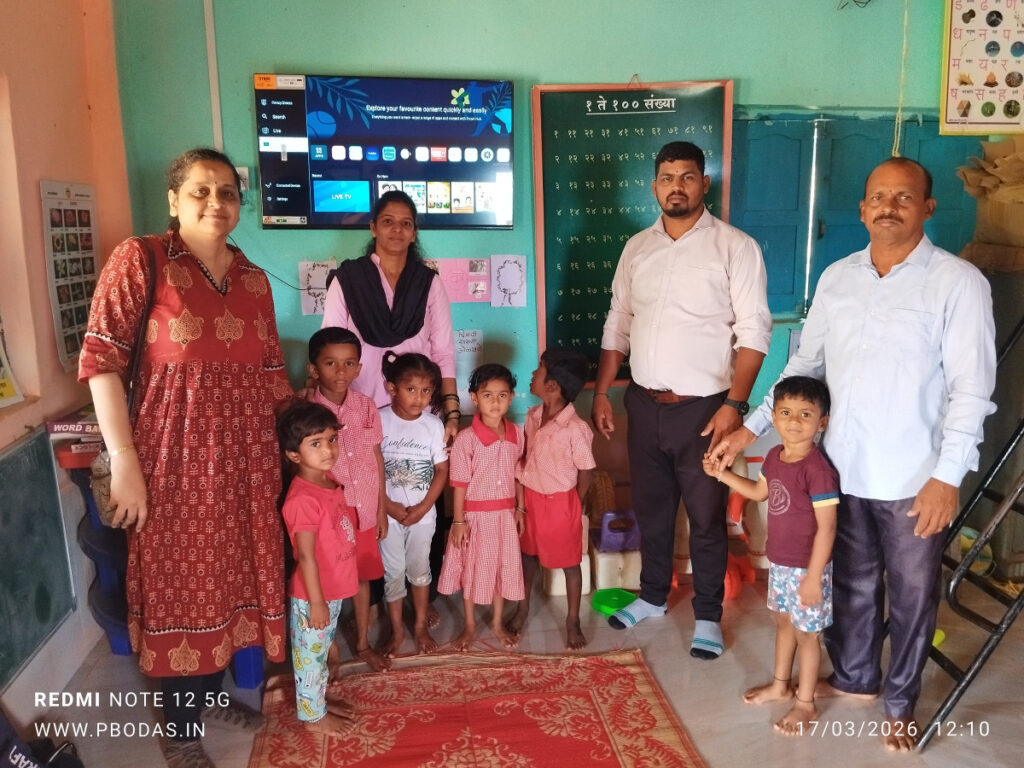
३०-एप्रिल-२०२६ : ठाणे, मुरबाड, देहरीअंगणवाडी (मालती वैद्य स्मृती ट्रस्टनेसुरळीत सुरु असलेला इन्व्हर्टर काही कारणास्तव काढून ठेवला )३०-एप्रिल-२०२६ : ठाणे, मुरबाड, बांगरपाडा अंगणवाडी (मालती वैद्य स्मृती ट्रस्टनेसुरळीत सुरु असलेला इन्व्हर्टर काही कारणास्तव काढून ठेवला )- १७-मार्च-२०२६ : रायगड, श्रीवर्धन, कारीवणे अंगणवाडी
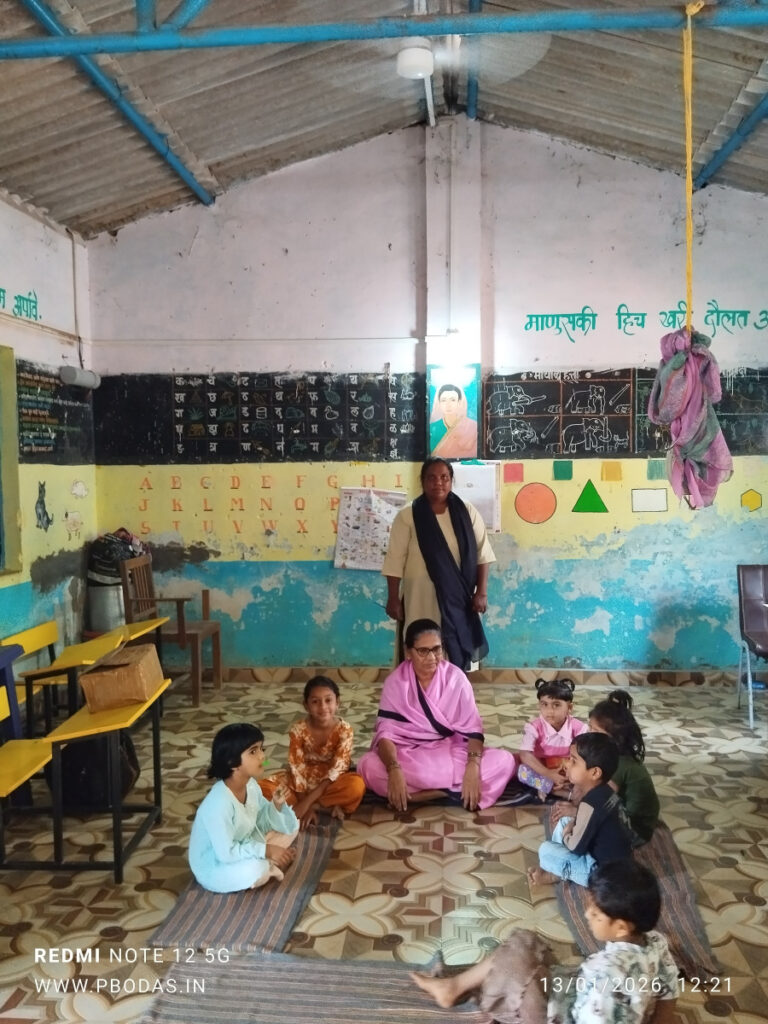
- १३-जानेवारी-२०२६ : ठाणे, मुरबाड, देहरी अंगणवाडी (मालती वैद्य स्मृती ट्रस्ट प्रायोजित)
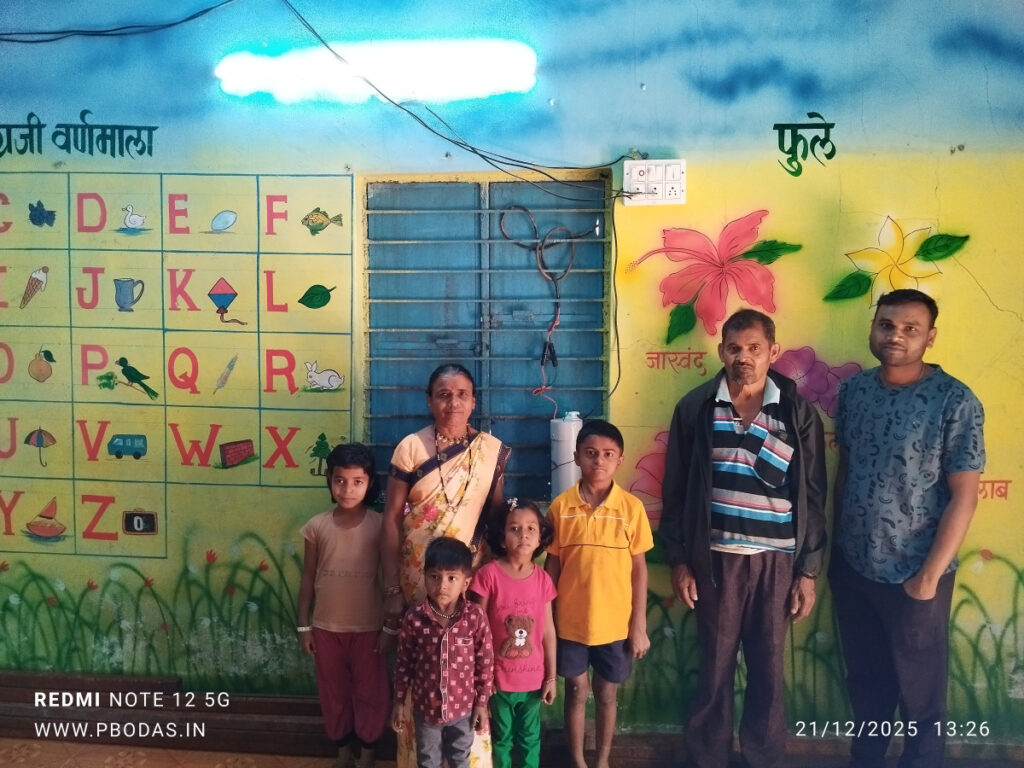
- २१-डिसेंबर-२०२५ : नाशिक, सुरगाणा, कळमणे अंगणवाडी
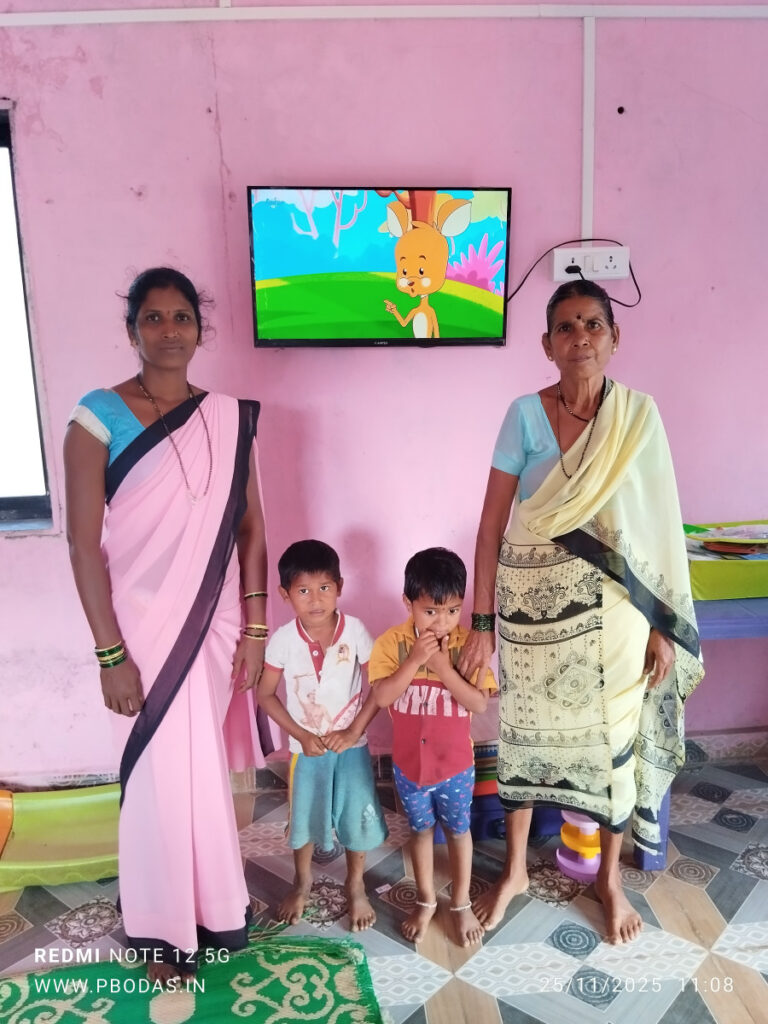
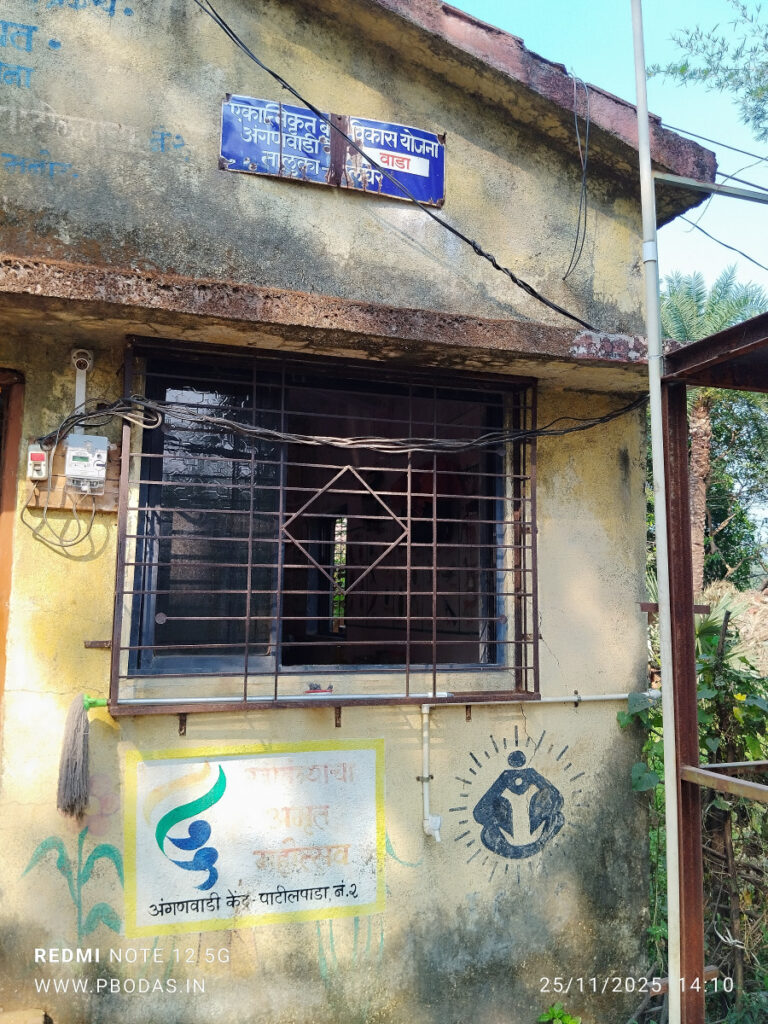
- २५-नोव्हेंबर-२०२५ : पालघर, वाडा, पाटीलपाडा क्र २ अंगणवाडी (उत्कर्ष प्रतिष्ठान प्रायोजित)
- २५-नोव्हेंबर-२०२५ : पालघर, वाडा, खडकोना अंगणवाडी (उत्कर्ष प्रतिष्ठान प्रायोजित)
१९-नोव्हेंबर-२०२५ : ठाणे,मुरबाड, खांडीचीवाडी जि. प. शाळा (बिघाड दुरुस्ती साठी रीप्लेसमेंट युनिट दिले )(शाळेला विजेची पर्यायी व्यवस्था झाल्यामुळे ६-मार्च-२०२६ रोजी इन्व्हर्टर परत आणला.)- २८-ऑक्टोबर-२०२५ : ठाणे, मुरबाड, बांगरपाडा अंगणवाडी (मालती वैद्य स्मृती ट्रस्ट प्रायोजित)
१४-ऑक्टोबर-२०२५ : ठाणे,मुरबाड, खांडीचीवाडी जि. प. शाळा- १४-ऑक्टोबर-२०२५ : ठाणे, मुरबाड, कुंभे नागाव जि. प. शाळा
- १४-ऑक्टोबर-२०२५ : ठाणे, मुरबाड, केव्हारवाडी जि. प. शाळा
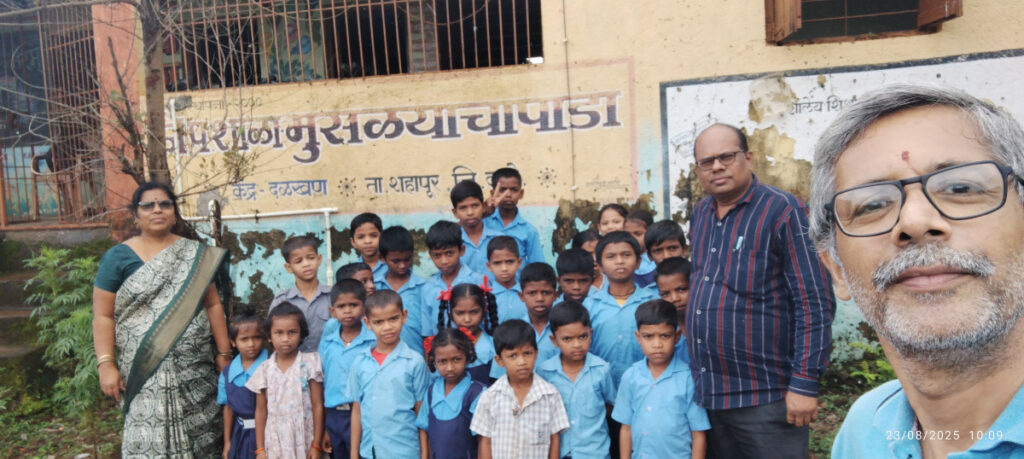
- २३-ऑगस्ट-२०२५ : ठाणे, शहापूर, मुसळ्याचापाडा जि. प. शाळा
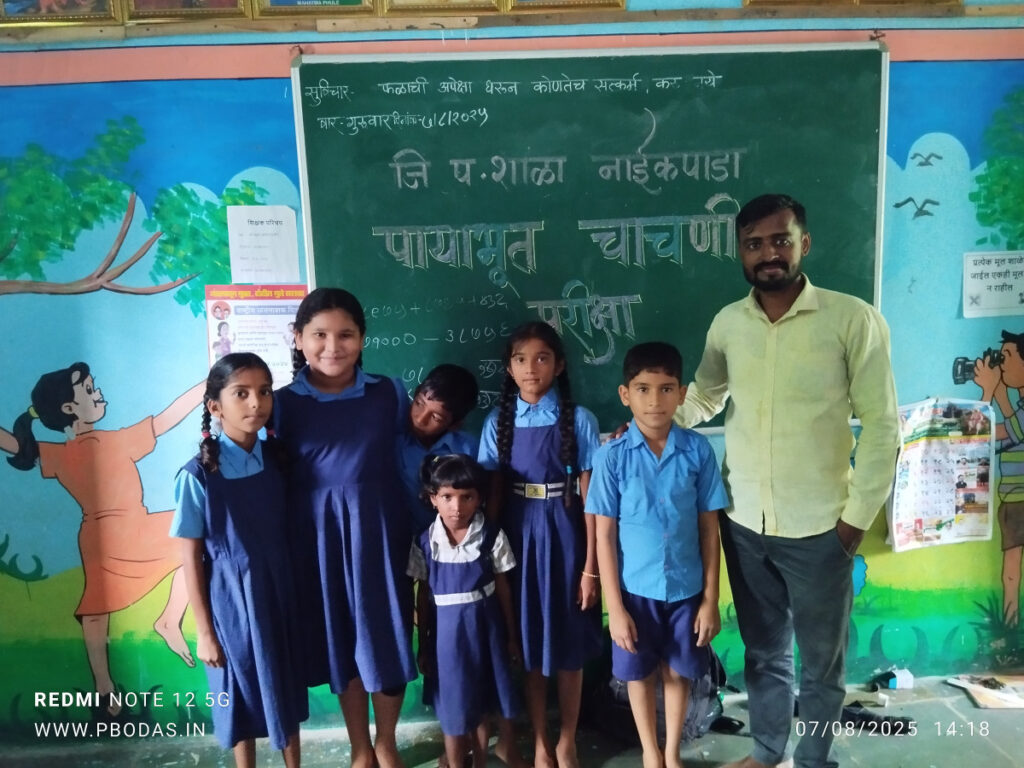
- ७-ऑगस्ट-२०२५ : ठाणे, मुरबाड, नाईकपाडा जि. प. शाळा
- २८-जुलै-२०२५ : ठाणे, मुरबाड, ठाकूरवाडी-साकुर्ली जि. प. शाळा
…… या सर्व ठिकाणी वापरात आहे.
सूर्यप्रकाशाच्या वेळेत माफक वीज वापर करायचा आहे अशा ठिकाणी… जिप शाळांसाठी… लहान शाळांसाठी… अंगणवाडी केंद्रांसाठी…
जिथे केवळ 10, 15, 20 विद्यार्थी…
एक किंवा दोनच शिक्षक…
एक किंवा दोनच वर्ग खोल्या…
त्यात दिवा, पंखा (कमी वीज खाणारा रीमोटवाला BLDC असल्यास उत्तम) आणि असला तर टीव्ही…
प्रोजेक्टर नको…
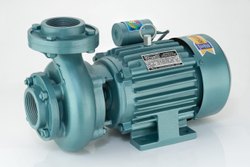
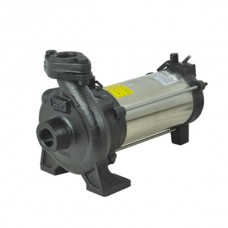
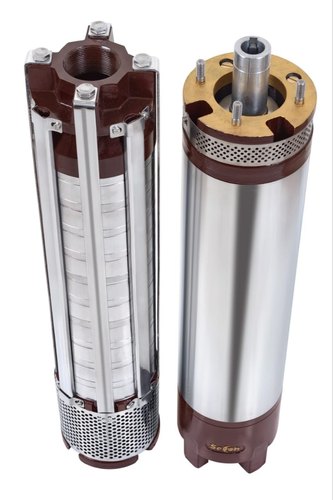
पाण्याचा पंप नको…
खूप मोठ्या आकाराचा टीव्ही नको…
वीज कंपनीची (महावितरण/टोरेंट) वीज नाही…
सोलर पॅनल नुसतीच बसवली आहेत पण वापरात नाहीत…
महावितरणची वीजजोडणी घेण्यासाठी आणि त्यानंतर दरमहा बिल भरण्याचा खर्च परवडत नाही…
महावितरणकडून नवी वीजजोडणी घेण्यासाठी (एक किलोवॅट मंजूर भार) 4500 ते 5500 आरंभीची रक्कम भरावी लागते आणि त्यानंतर शाळांसाठीच्या वीजदरानुसार दरमहा किमान 450 रुपये बिल येणार.
अशा अंगणवाडी व शाळांसाठी उपयुक्त पर्याय ठरेल असे एक उपकरण बनवले आहे.
थोडक्यात काय तर ज्या ठिकाणी सोलर पॅनल उपलब्ध आहेत आणि दिवसाच्याच वेळात कमी प्रमाणात वीज वापर करायचा असतो तिथे हे खूप सोयीचे ठरेल.
नक्की कसे चालते ?
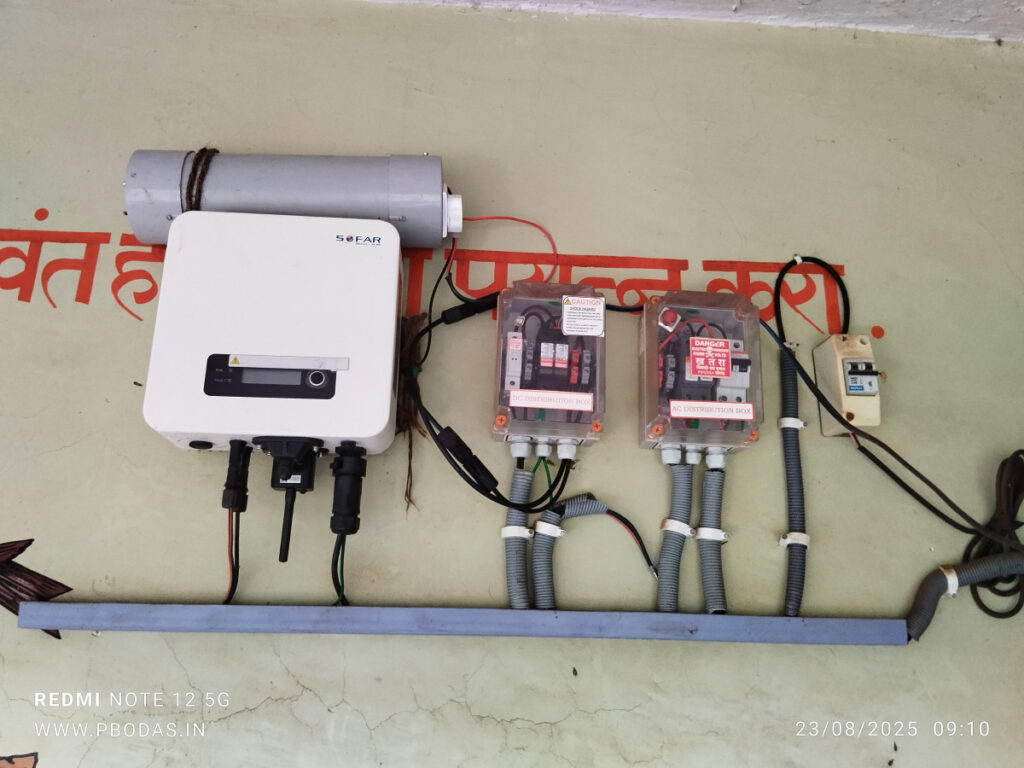
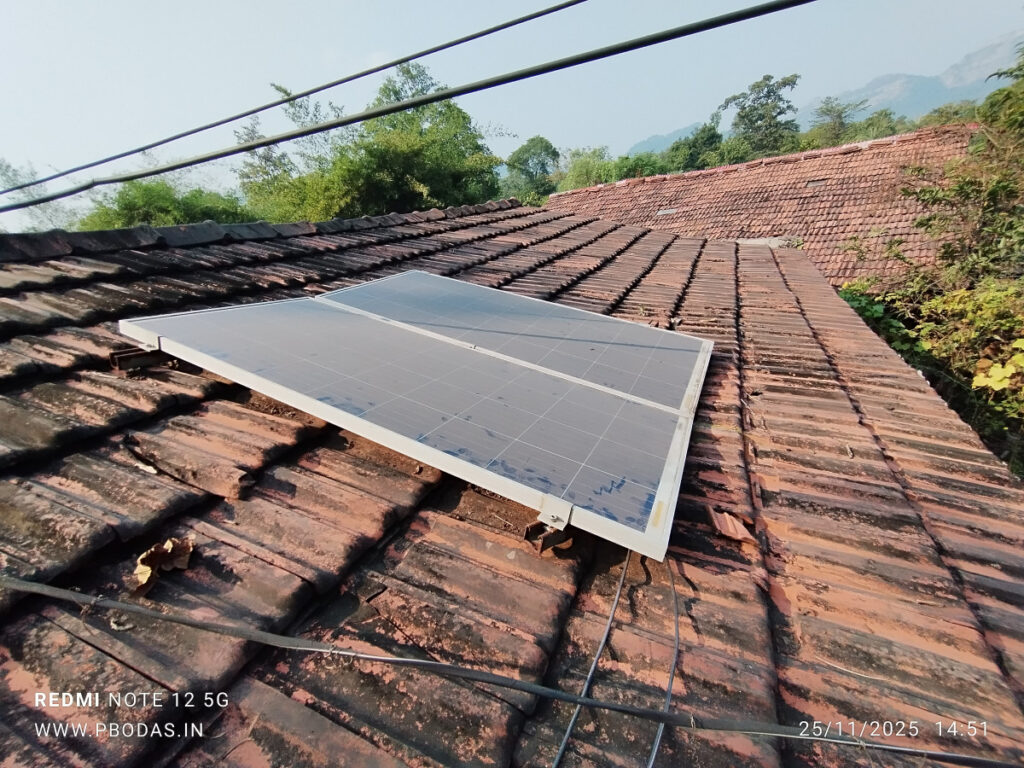
हे उपकरण दिवसाच्या वेळात सूर्यप्रकाशातून निर्माण होणारी सोलर पॅनल मधील वीज (DC) वापरून शाळेतील उपकरणे चालवता येतील अशी वीज (AC) निर्माण करून देते. एका प्रकारचा विना बॅटरी, विना वीजजोडणी चालणारा सोलर पॅनल वर आधारित, मर्यादीत क्षमतेचा इन्व्हर्टर.
हे काही नव्यानेच/प्रथमच बनवले गेले आहे किंवा असे उपकरण अन्यत्र मिळत नाही असे काही नाही. काही कंपन्या अशी उपकरणे / इन्व्हर्टर बनवतात आणि बाजारात विकतात सुद्धा. काही संस्थांमार्फत असे इन्व्हर्टर शाळांना दिले सुद्धा गेले आहेत.
वीजेसंबंधित प्राथमिक तत्वे + इलेक्ट्रॉनिक्स डीझाईन करून त्याप्रमाणे सर्किट बोर्ड तयार करून हे उपकरण स्वतः बनवलेले आहे. म्हटले तर प्रायोगिक आहे परंतु काही शाळांमध्ये बसवून झाले आहे, आणि २८-जुलै-२०२५ पासून वापरात आहे व व्यवस्थित चालते आहे. यासाठी वापरलेल्या सामग्रीची किंमत अंदाजे 4000 रुपये इतकी आहे + जुळणीचा खर्च.
अंगणवाडी आणि शाळेसाठी काहीतरी करता येत आहे म्हणून मी या इंव्हर्टरची किंमत घेत नाहीये, अंगणवाडी आणि जि.प. शाळेसाठी म्हणून विनामूल्य बसवून देतो आहे.
किती ठिकाणी असे विनामूल्य देता येईल? सांगू शकत नाही, परंतु सध्यातरी पाच ते आठ शाळा/अंगणवाडीना असे विनामूल्य देऊ शकेन असे वाटते.
आपल्याला हे उपकरण आपल्या शाळेसाठी योग्य वाटत असेल आणि बसवून घेण्याची इच्छा असेल तर कृपया संपर्क साधावा.
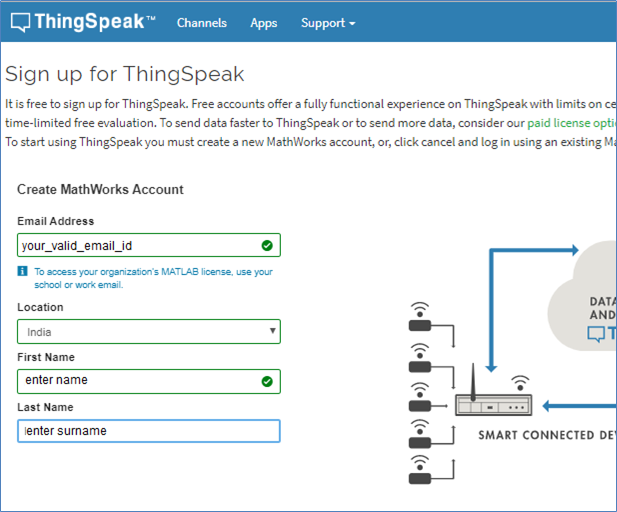
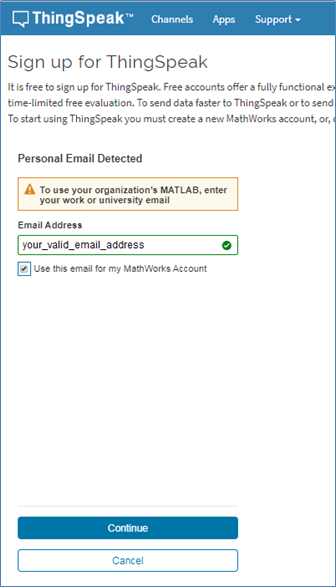
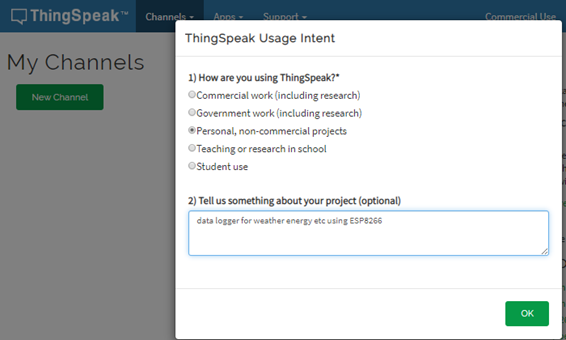
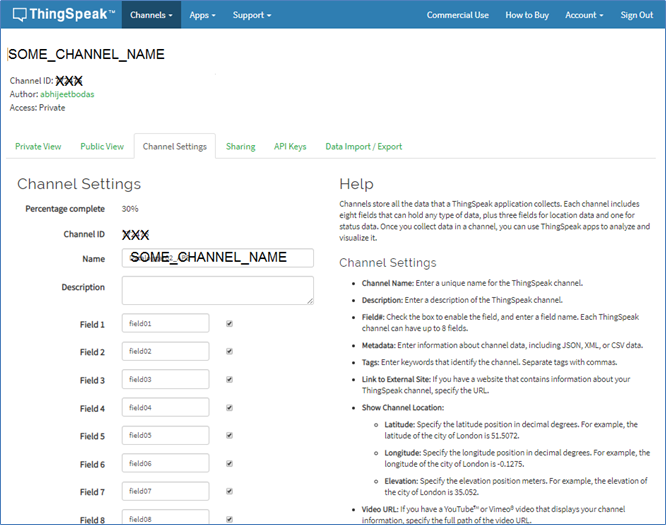
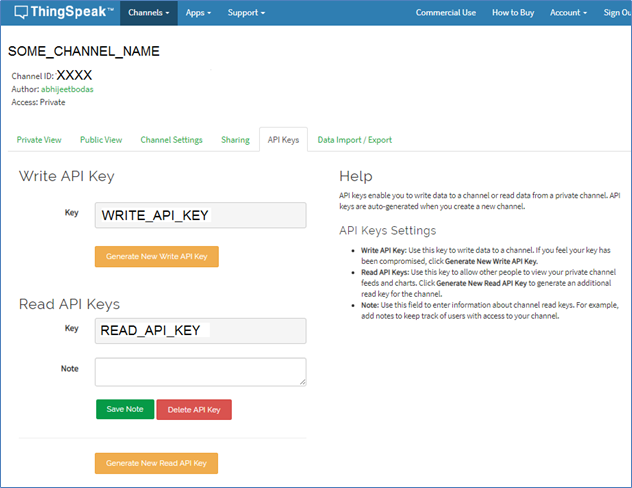
ज्यांना हा इन्वर्टर बसवून घ्यायची इच्छा आहे आणि वर लिहिलेल्या निकषांमध्ये बसत असाल तर या लिंक मध्ये आपल्या गुगल लॉगिनने जावे आणि विचारलेल्या सर्व प्रश्नांची (mandatory आणि optional) उत्तरे भरून सर्व माहिती सबमिट करावी.
हे उपकरण वापरताना काय खबरदारी घ्याल?
- हे उपकरण किंवा इन्व्हर्टर मर्यादित क्षमतेचा आहे.
- एकत्रितपणे सुमारे 100 ते 150 वॅट इतकीच उपकरणे यावर सलग वापरली जाऊ शकतात.
- पाच ते दहा मिनिटांसाठी जास्तीत जास्त 200 वॅट इतकी वीज यातून वापरता येईल.
- यामध्ये साधे एलईडी बल्ब,एलईडी ट्यूबलाईट, एक साधा पंखा किंवा दोन बीएलडीसी पद्धतीचे कमी वीज खाणारे पंखे आणि एक छोटा ते मध्यम आकाराचा टीव्ही चांगला सूर्यप्रकाश असेल तेव्हा चालू शकतात.
- कमी सूर्यप्रकाशात फक्त दिवा आणि कदाचित टीव्ही चालू शकेल.
- या इन्व्हर्टरने पाण्याचा पंप किंवा प्रोजेक्टर यासारखी मोठ्या प्रमाणावर वीज खाणारी विद्युत उपकरणे कधीही चालवू नयेत.
- कुठल्याही वेळी या इन्व्हर्टरने चालू असलेली उपकरणे जर उपलब्ध सूर्यप्रकाशाच्या तुलनेत जास्त वीजवापर करू पाहतील तर हा इन्व्हर्टर आपोआप बंद पडेल, आणि त्यावर चालू असलेली सर्व उपकरणे बंद होतील. तीस सेकंदांच्या कालावधीनंतर इन्व्हर्टर पुन्हा एकदा उपकरणांना वीजपुरवठा सुरु करेल . त्यावेळी जर सूर्यप्रकाश पुरेसा वाढला असला किंवा काही उपकरणांची बटणे बंद करून ठेवली असली तर वीजपुरवठा सुरळीत सुरु राहील, अन्यथा पुन्हा बंद होईल. या इन्व्हर्टरला वीजसाठा करण्याची सोय / बॅटरी नसल्याने उपलब्ध सूर्यप्रकाशानुसार शक्य तेवढीच उपकरणे चालू शकतात.
- या इन्व्हर्टरची वीज आणि महावितरणची वीज कधीही/ चुकून सुद्धा मिक्स/एकत्र व्हायला नको. तसे झाल्यास एक तर हा इंव्हर्टर डॅमेज होईल आणि नादुरुस्त होऊन जाईल, तसेच शॉर्टसर्किट सारखा प्रकार देखील होऊ शकतो. त्यामुळे महावितरणची वीज पूर्णपणे स्वतंत्र ठेवायची किंवा ती शाळेत नसलेलीच चांगली.
- या इन्व्हर्टरला जोडण्यासाठी सोलर पॅनलच्या मागून बाहेर पडणाऱ्या वायर विशिष्ट प्रकारे पॅरलल जोडणीत करून घ्याव्या लागतात आणि त्या तशा असताना काही प्रॉब्लेम नाही.
- परंतु भविष्यात सोलर पॅनलचा वापर जर दुसऱ्या कुठल्या कामासाठी करायचा म्हणून हे वायरिंग बदलायची वेळ आली तर सर्वप्रथम हा इन्व्हर्टर वायर सोडवून बाजूला काढून ठेवायचा. सोलर पॅनलचे वायरिंग बदलल्यामुळे या इन्व्हर्टरला डॅमेज होऊ शकतो.
हा इन्व्हर्टर कुठे दिला आहे?
या लेखाच्या सुरुवातीला पाहू शकता, आतापर्यंत बऱ्याच ठिकाणी हा इन्व्हर्टर वापरला जातो आहे.
क्षणचित्रे
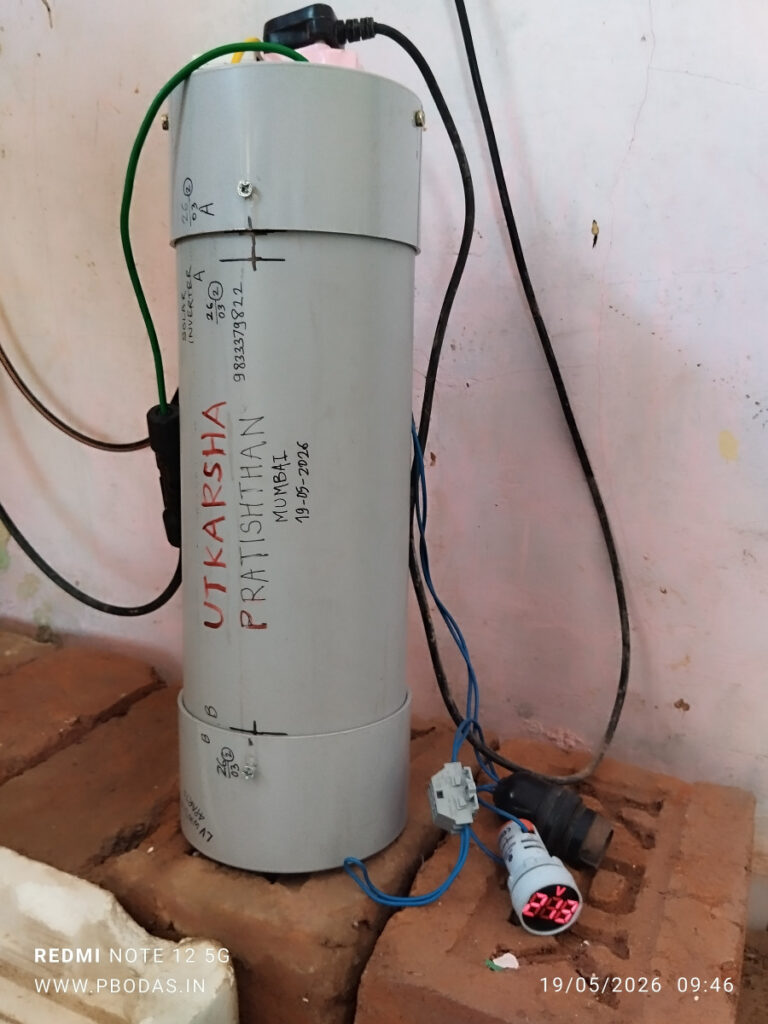
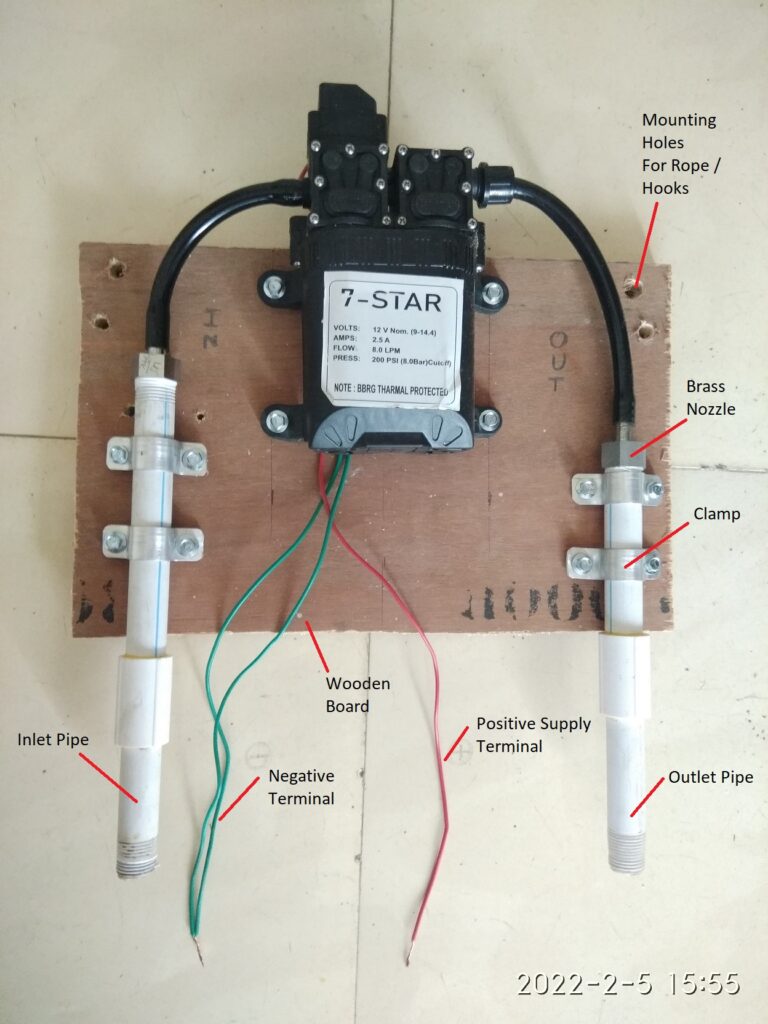
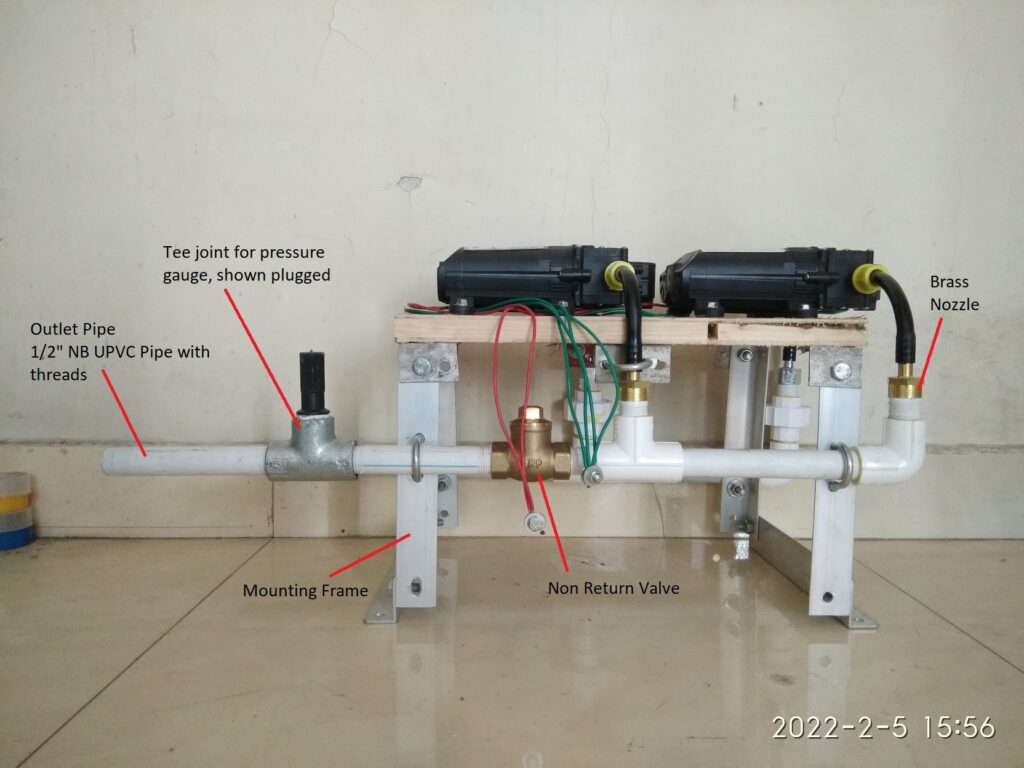
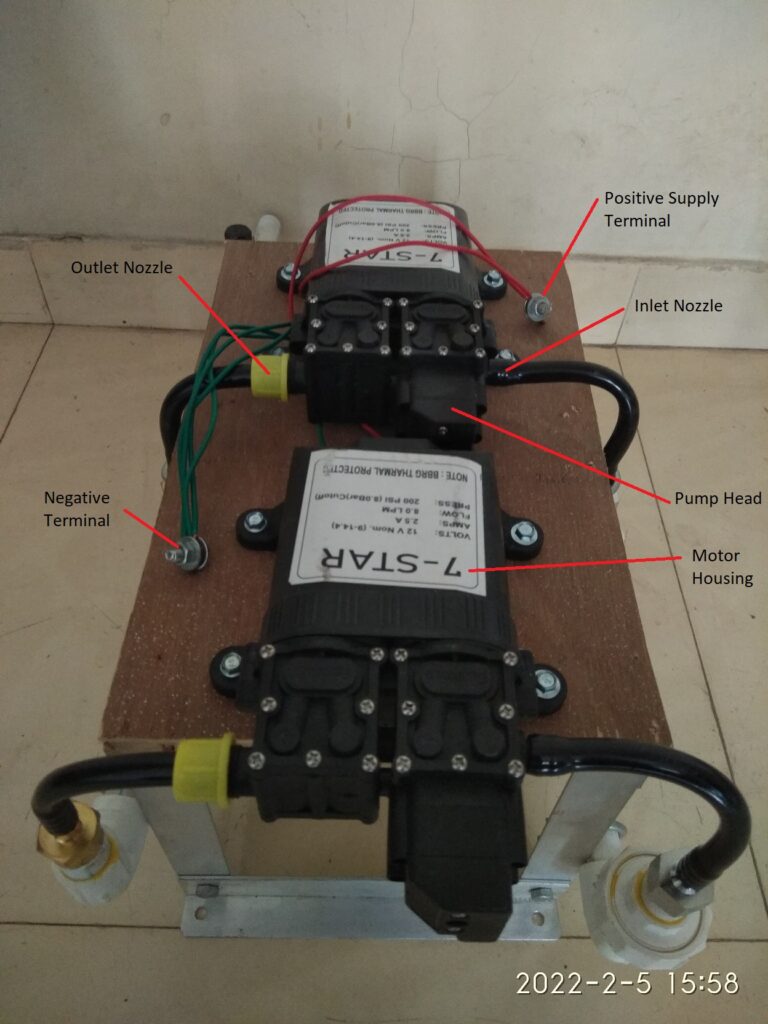
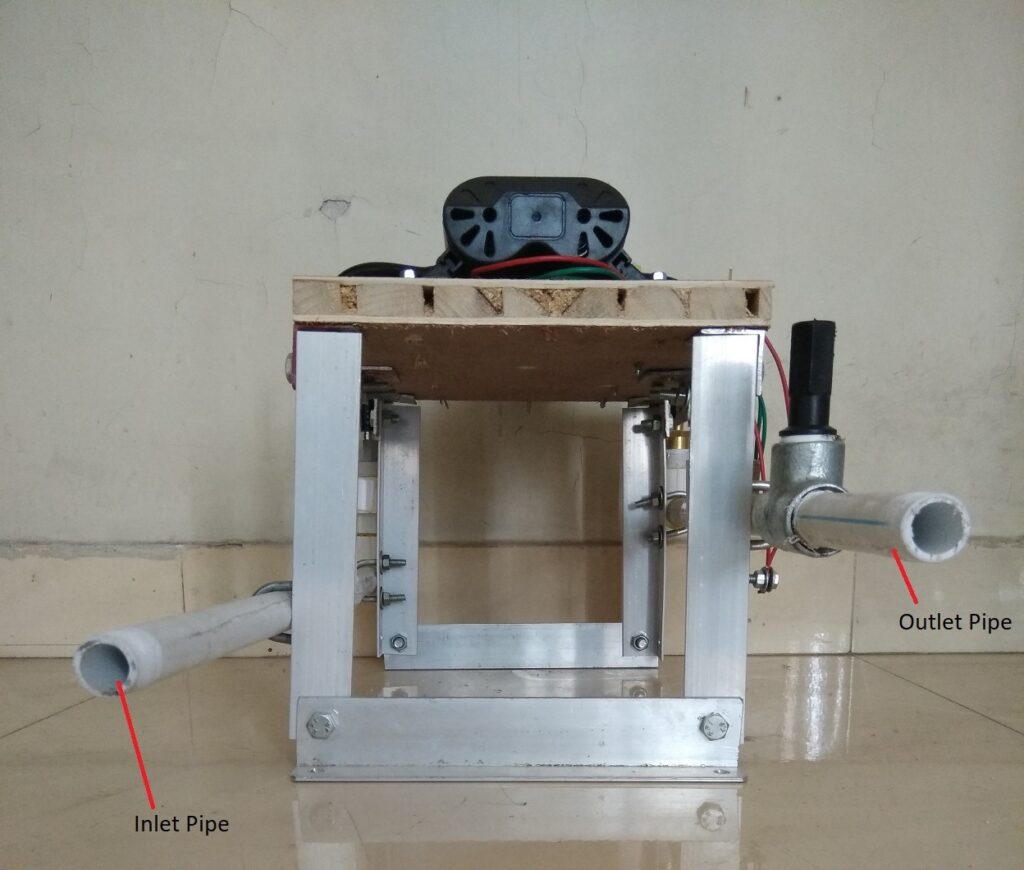
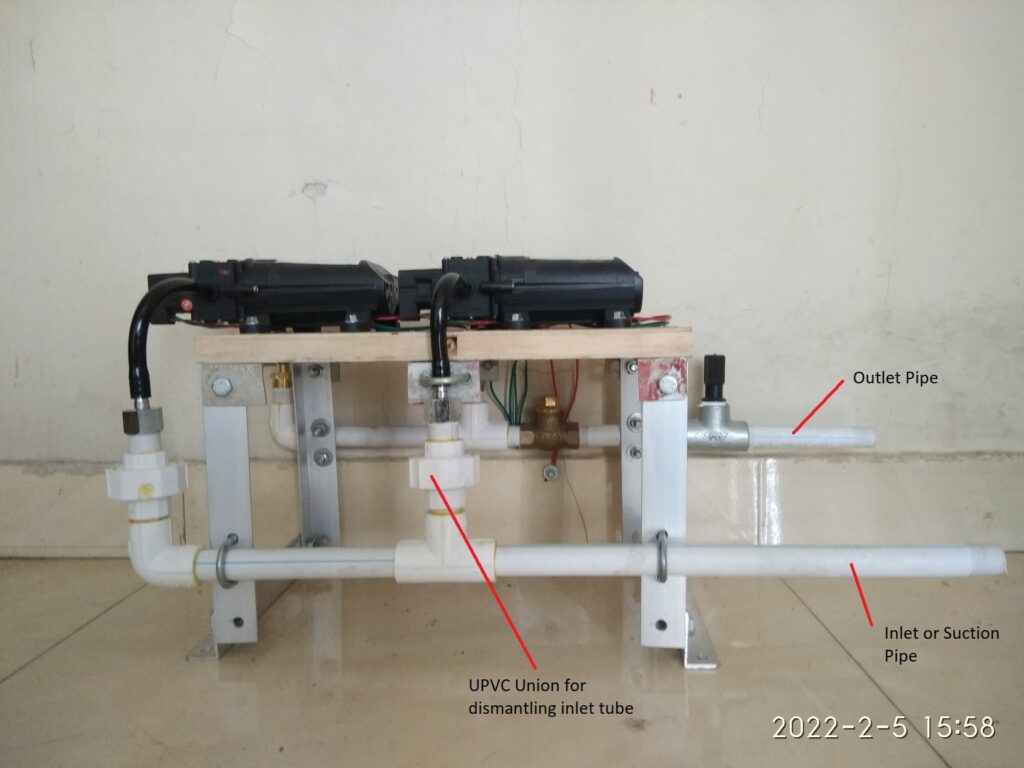
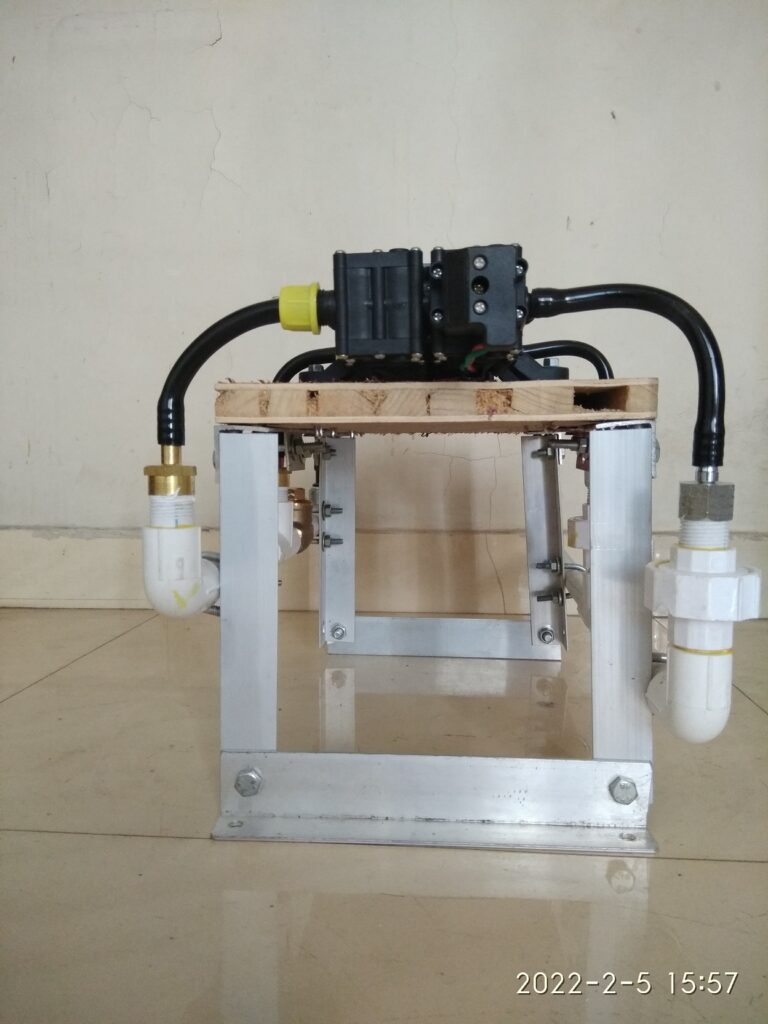
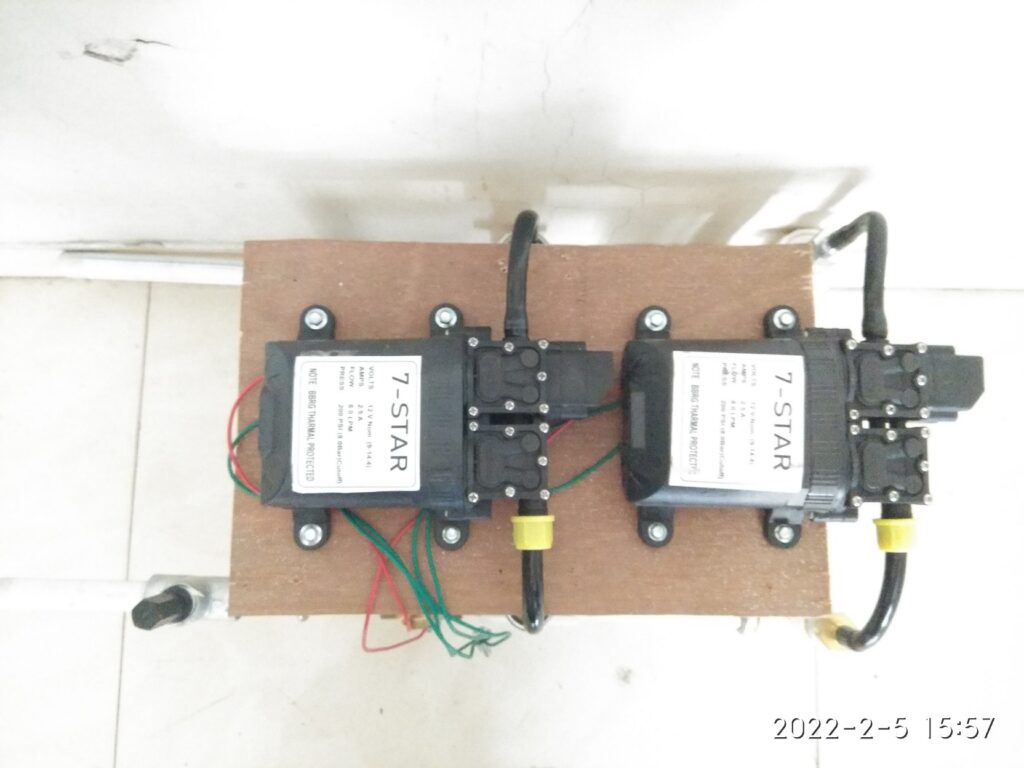
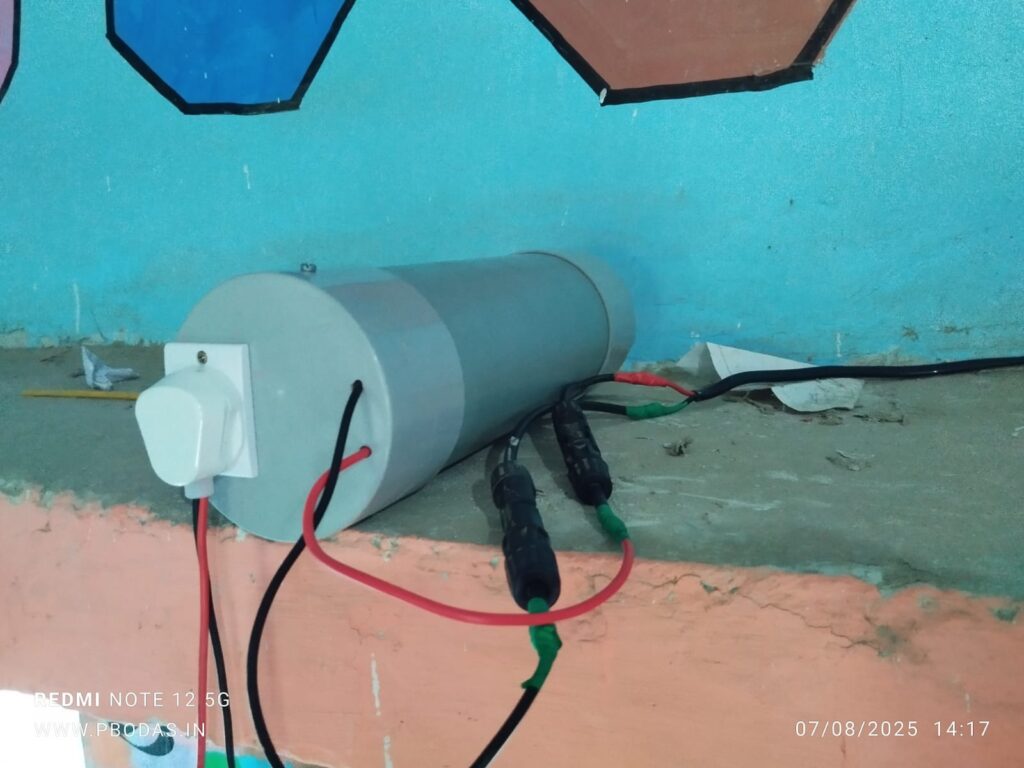
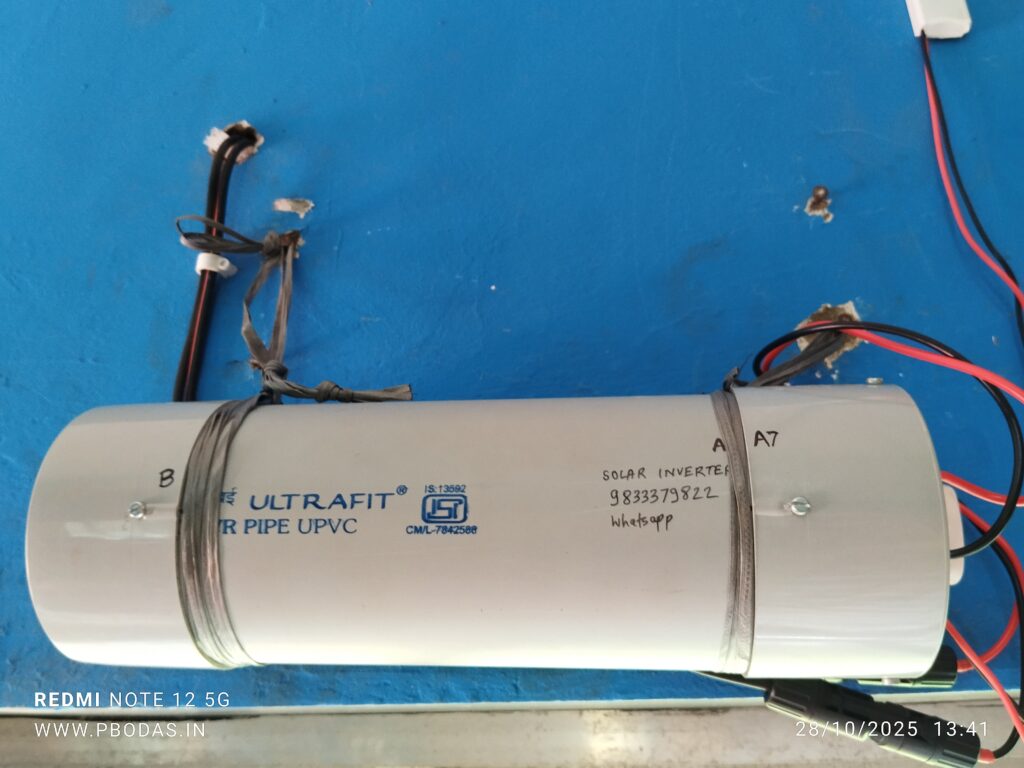
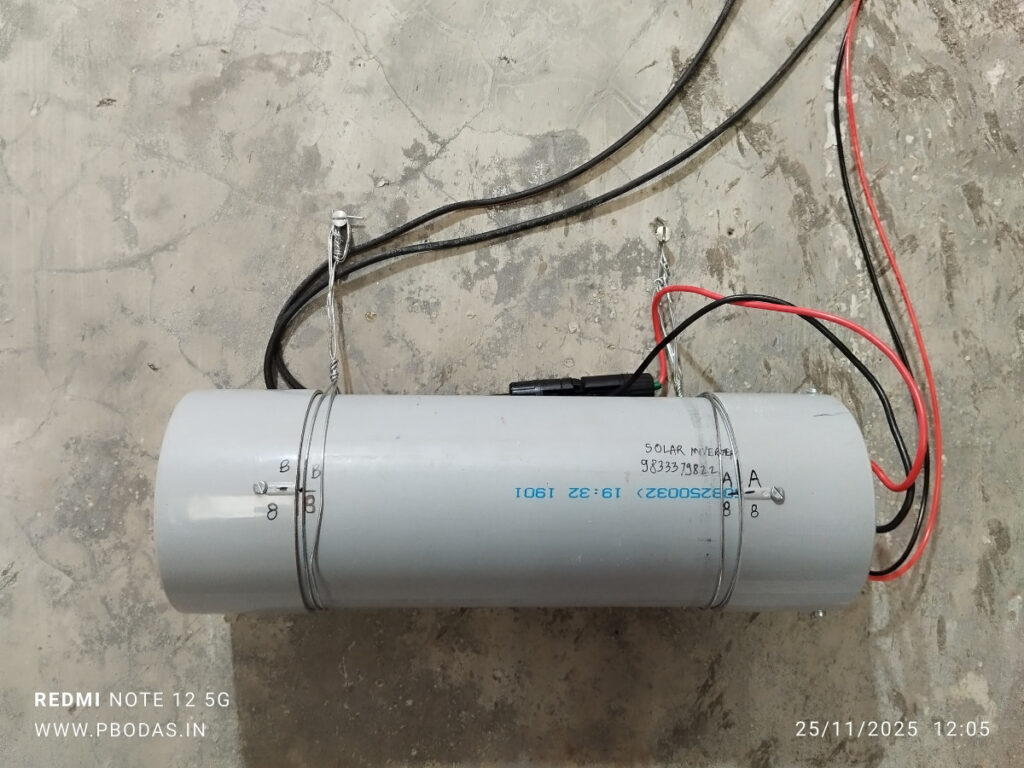
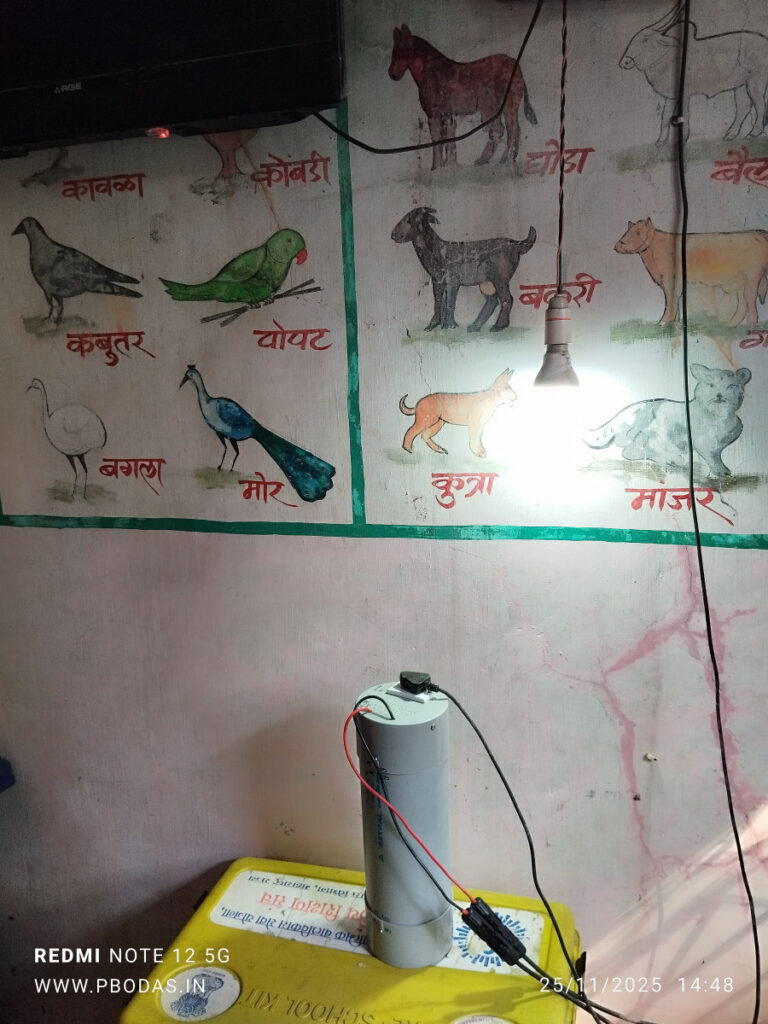
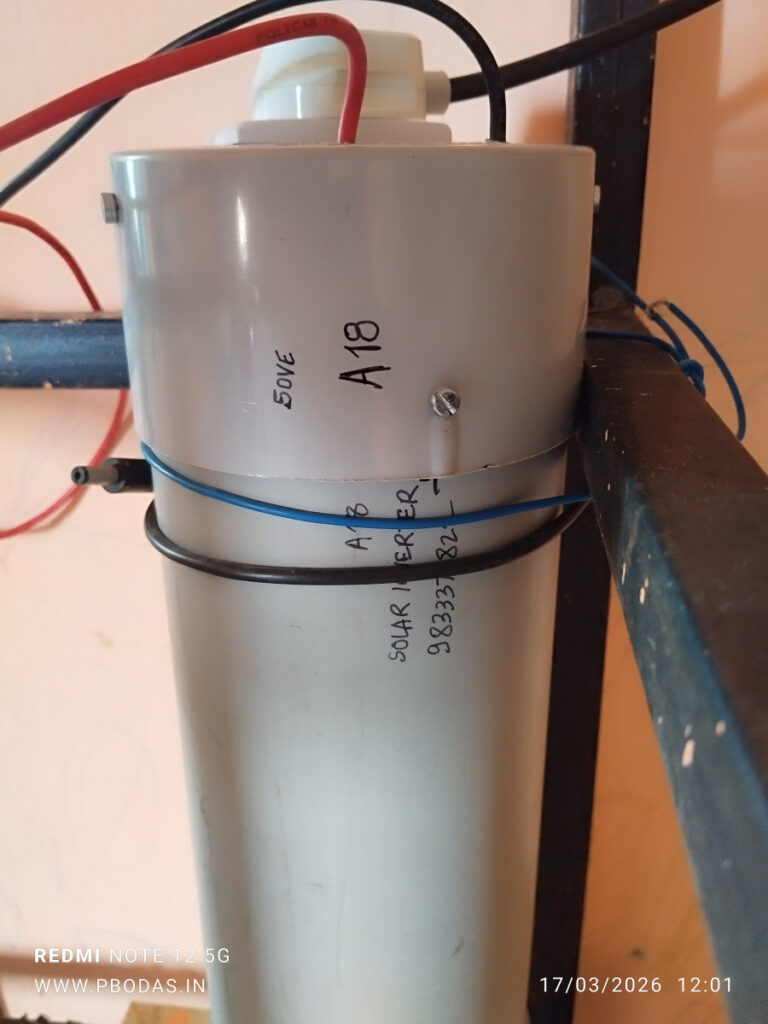
या लेखातील इन्व्हर्टर /उपकरण प्रत्यक्ष इथे पहा. उत्पादनखर्च शक्य तितका कमी व्हावा म्हणुन सहज उपलब्ध असलेल्या पीव्हीसी पाईपचा वापर करून बनवले आहे.

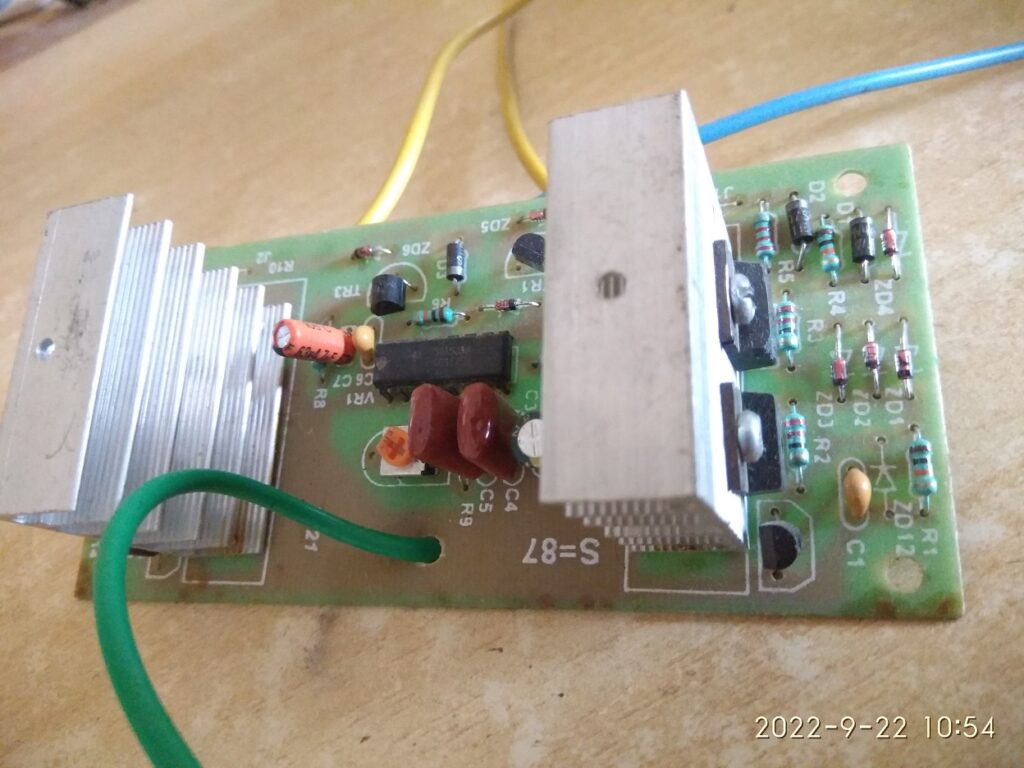
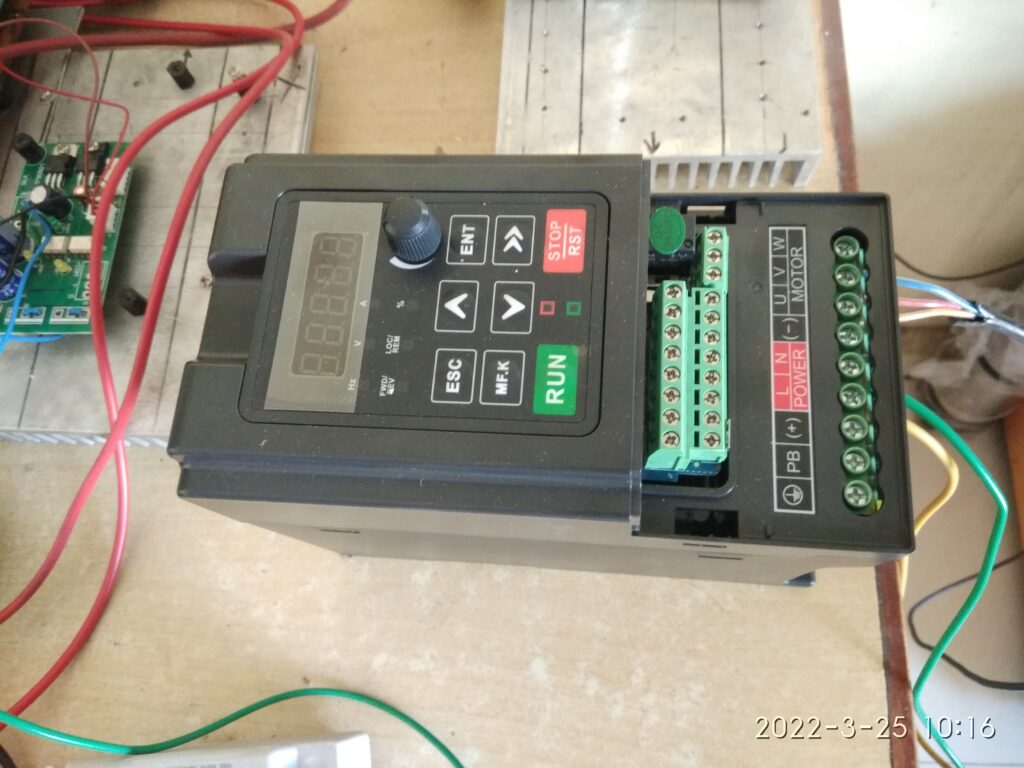
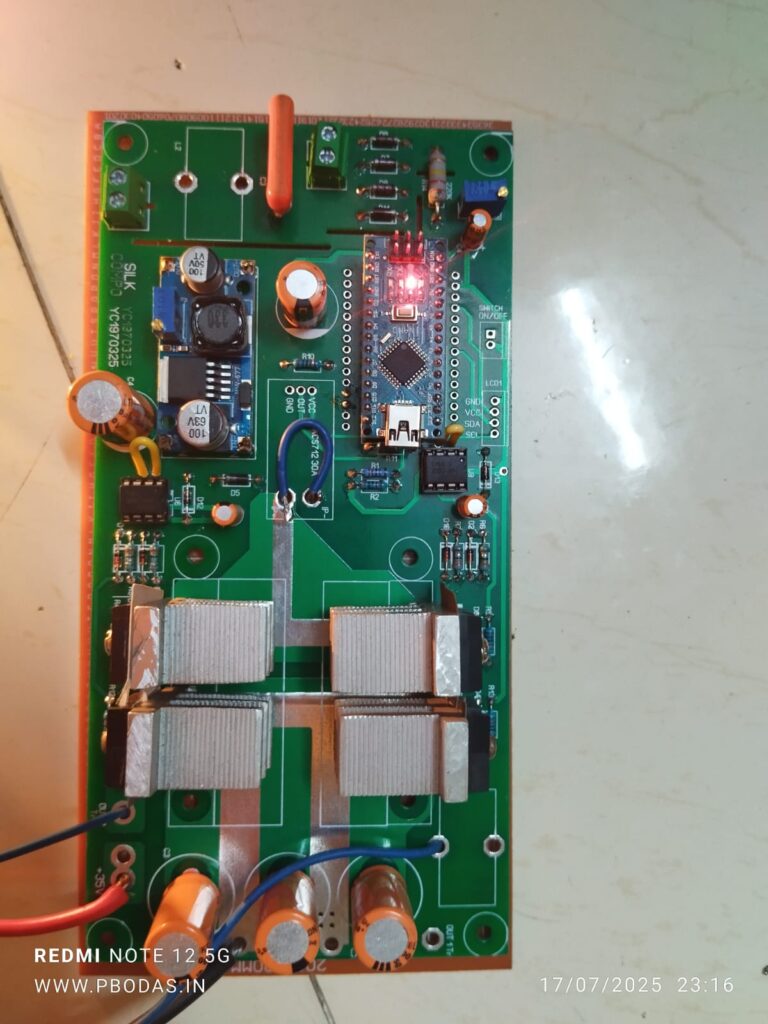
उपकरणामधे वापरलेला सर्कीट बोर्ड
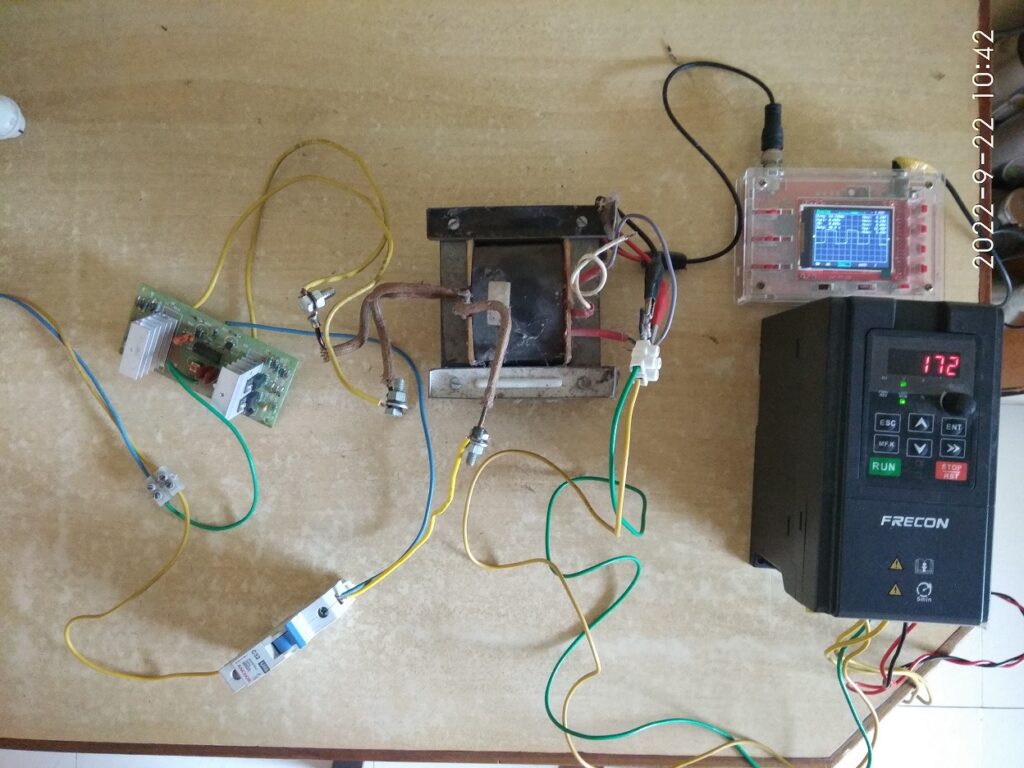
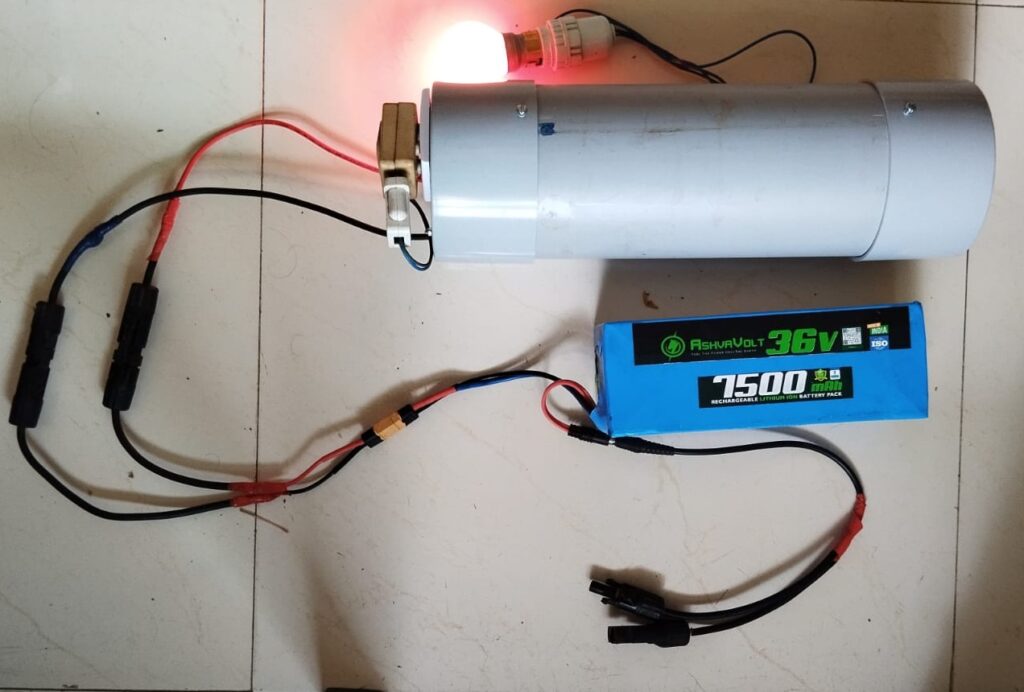
या चित्रात दिसणारी बॅटरी केवळ टेस्टींग/चाचणी साठी वापरली आहे. इन्स्टॉलेशनच्या ठिकाणी हे उपकरण थेट 36VDC सोलर पॅनल सोबत जोडायचे असते.
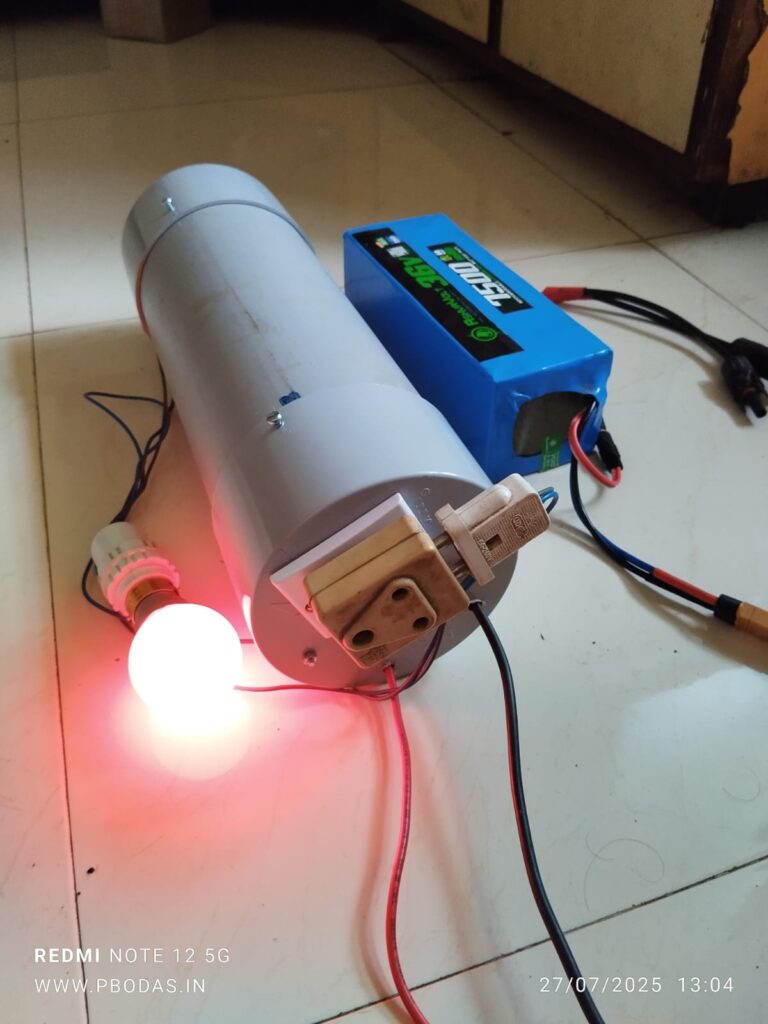
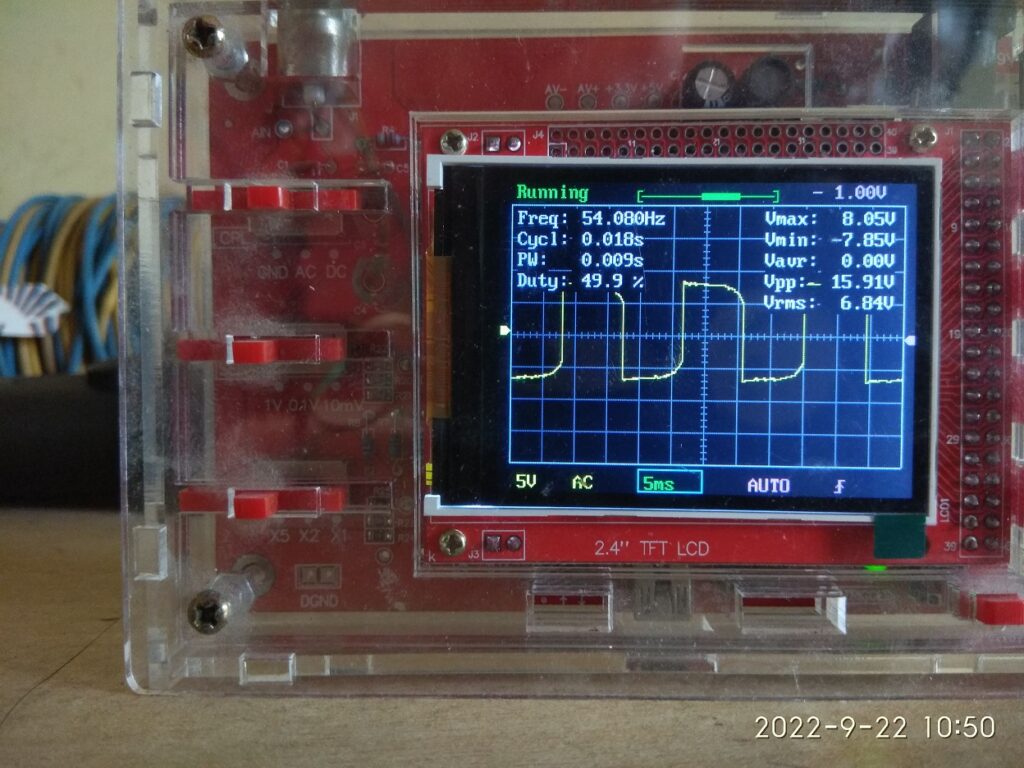
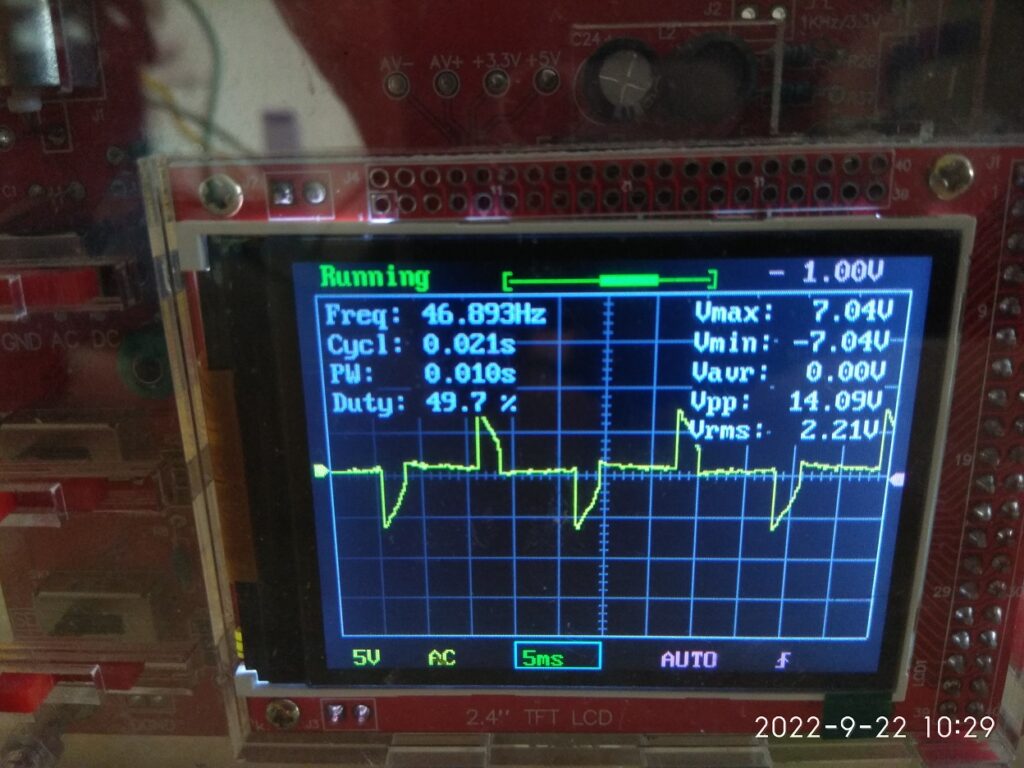
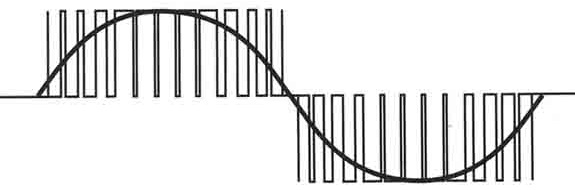
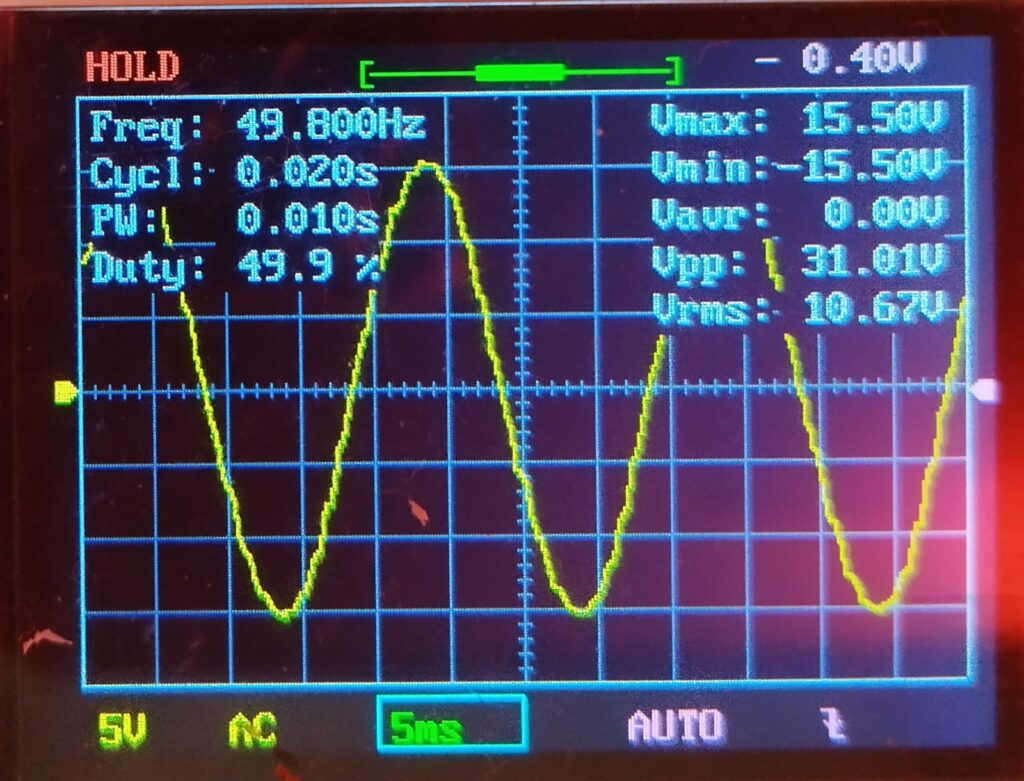
उपकरणाच्या आऊटपुट सॉकेट मधून मिळणारी वीज ही महावितरणच्या वीजेसारखीच Standard 50 Hz Sine Wave वाली असते.
खडकोना आणि पाटीलपाडा क्रमांक २ अंगणवाडी
नाशिक मधील सुरगाणा तालुका, कळमणे अंगणवाडी
मुरबाडमधील म्हसा धसई रस्त्याला गोरखगडाच्या पायथ्याच्या देहरी गावातली अंगणवाडी
रायगड, श्रीवर्धन, कारीवणे – अंगणवाडी
तांडेलपाडा मनोर पालघर अंगणवाडी